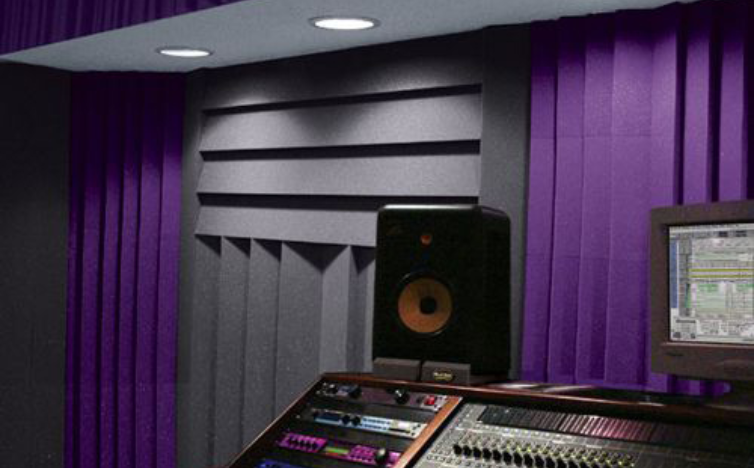
Creating a soundproof studio is essential for recording high-quality audio without external noise interference. Whether you’re setting up a home studio, podcasting space, or professional recording booth, proper soundproofing techniques can make a huge difference. This guide covers practical steps to block outside noise and improve acoustics.
1. Seal Gaps and Cracks
Sound leaks through even the smallest openings. Use:
- Acoustic sealant for gaps around windows and doors
- Weatherstripping tape for door edges
- Door sweeps to block sound from underneath
2. Add Mass to Walls
Thin walls allow sound to pass easily. Improve soundproofing by:
- Installing mass-loaded vinyl (MLV)
- Adding extra drywall layers with Green Glue
- Using soundproof curtains or moving blankets
3. Upgrade Doors and Windows
- Replace hollow doors with solid-core doors
- Install double-pane windows or use window inserts
- Apply soundproof window film
4. Use Bass Traps and Acoustic Panels
- Place bass traps in corners to control low frequencies
- Install acoustic foam panels or fiberglass panels to reduce echoes
- Consider diffusers for balanced sound reflection

5. Decouple Walls and Floors
- Use resilient channels to separate drywall from studs
- Install floating floors with rubber underlayment
- Apply cork or rubber mats for vibration damping
6. Optimize Studio Layout
- Keep noisy equipment (PCs, HVAC) in a separate area
- Use bookshelves or furniture as natural sound barriers
- Avoid parallel walls to reduce standing waves
7. Test and Adjust
- Record test audio to identify remaining noise issues
- Use soundproofing apps to measure dB levels
- Fine-tune with additional treatments as needed
Call us: Contact DeSound Soundproofing Expert in Dubai For Soundproofing: +971 56 231 4204
Conclusion
Soundproofing a studio requires a mix of sealing, mass addition, and acoustic treatment. By following these steps, you can achieve a professional-quality recording space free from unwanted noise. Start with the most critical areas (doors, windows, walls) and gradually enhance sound isolation for the best results.

