Resilient sound isolation clips are essential components in soundproofing walls and ceilings. They decouple drywall from the underlying structure, reducing vibration transfer and blocking noise. Whether you’re soundproofing a home theater, recording studio, or noisy office, proper installation is key to maximizing performance.
Tools & Materials Needed
Before starting, gather the following:
- Resilient sound isolation clips (e.g., RSIC-1, Whisper Clips)
- Furring channels (hat channels)
- Drywall screws (1-1/4″ to 1-5/8″)
- Acoustic sealant (Green Glue, OSI SC-175)
- Measuring tape, level, and pencil
- Drill/driver with appropriate bits
- Safety gear (gloves, goggles, ear protection)
Step 1: Plan the Layout
- Determine clip spacing (typically 16″ or 24″ on center).
- Mark stud/joist locations with a pencil.
- Ensure clips align properly for furring channel attachment.
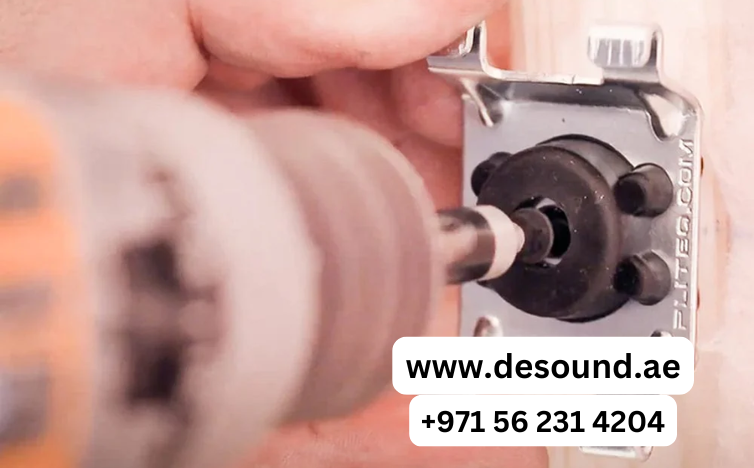
Step 2: Install the Resilient Clips
- Pre-drill holes (if required by the clip manufacturer).
- Secure clips to studs or joists using provided screws.
- Check alignment with a level to avoid uneven surfaces.
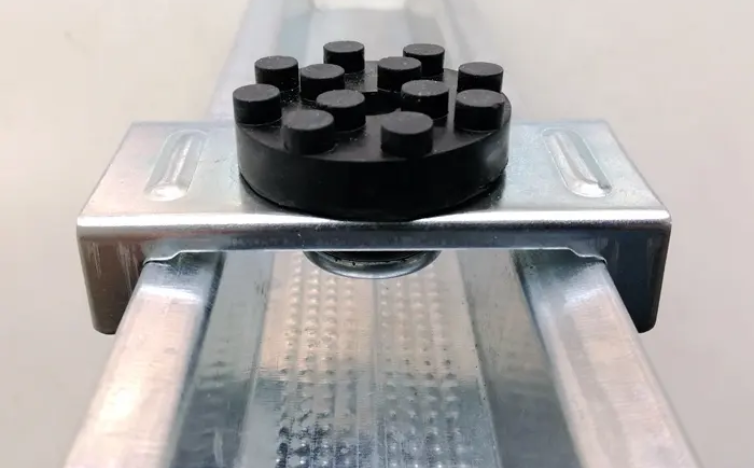
Step 3: Attach Furring Channels
- Snap hat channels into the clips.
- Ensure channels run perpendicular to studs/joists.
- Use a level to confirm straight placement before final tightening.
Step 4: Mount Drywall
- Apply acoustic sealant along edges for airtight sealing.
- Screw drywall into channels (not into studs!).
- Stagger seams between panels for better sound blocking.
Step 5: Final Soundproofing Touches
- Seal all gaps with acoustic caulk.
- Add mass-loaded vinyl (MLV) or Green Glue for extra insulation.
- Install a second drywall layer (optional for higher STC ratings).
Common Mistakes to Avoid
❌ Skipping sealant – Gaps allow sound leakage.
❌ Over-tightening screws – Can reduce decoupling effect.
❌ Incorrect clip spacing – Weakens sound isolation.
Call us: Contact DeSound Soundproofing Expert in Dubai For Soundproofing: +971 56 231 4204
Conclusion
Properly installed resilient clips significantly improve soundproofing by reducing structure-borne noise. Follow these steps carefully, and pair with additional acoustic treatments for optimal results.